Evidence of Analytical and
Integrative Thinking
Spring Semester, 2004
EDIT 797b - Advanced Web-Based
Publishing and Graphics Tools
Why Graphics?
"A picture is worth a
thousand words." This aphorism is even more true on the World Wide Web,
where images can overcome boundaries of time, place, and culture. The web
designer must develop a number of skills relating to the development and
placement of graphic elements on the page. Since we are also educators using the
World Wide Web to teach, we must give additional considerations to the way our
graphic elements can be best used by students to learn on-line. This is true for
both Virtual High School students as well as traditional students and teachers
using the Web as a powerful additional learning tool.
The Role of Graphics in Web Design
Graphic elements on the
web page serve much the same function as they would on the printed page: to
illustrate in pictorial terms any topic being discussed within the text of the
page. Images on the page might consist of photographs, sketches, diagrams, maps,
or flow charts consistent with the topic being discussed within the text.
Graphical elements can be used to present text in a more dynamic way with added features
such as inner bevels or drop shadows. With the use of Dynamic HyperText Mark-up
Language (DHTML), images can be swapped as the mouse rolls over them so that an
added dimension to the information is presented. Such image rollovers can be
used to aid in navigation or in presenting factual information. The image must
be relevant, appropriate, and scaled to a proper size in both screen space and
download time.
The image also acts as a
diversion for the mind and for the eye. The viewer, who in our case may be an
adolescent, may not have the patience to slog to screen after screen or textual
information. The graphic element breaks up the text to provide information and
variation for the reader.
Using Graphics to Educate Online
| Learning
styles vary from student to student. The on-line medium seems to favor
those who learn via the written word. Graphics bring to the table the
ability for those who learn visually an opportunity to improve their
information uptake. It feels like less time is needed to analyze an
image than to read a given passage. Reading and looking impact different
areas of the brain. For some students, switching to visual mode provides
a much needed break, a shifting of gears, that reinforces what goes on
within all of the learning processes. It feels good to stop reading and
look at the pictures. Just as with the printed passage, images play a
vital role in maintaining the attention of young learners. But as
parents and teachers, we don't want our kids to just look at the
pictures. We want them to use the images to help understand what the
text is saying. We want learners who are adept and utilizing all methods
of presentation. |
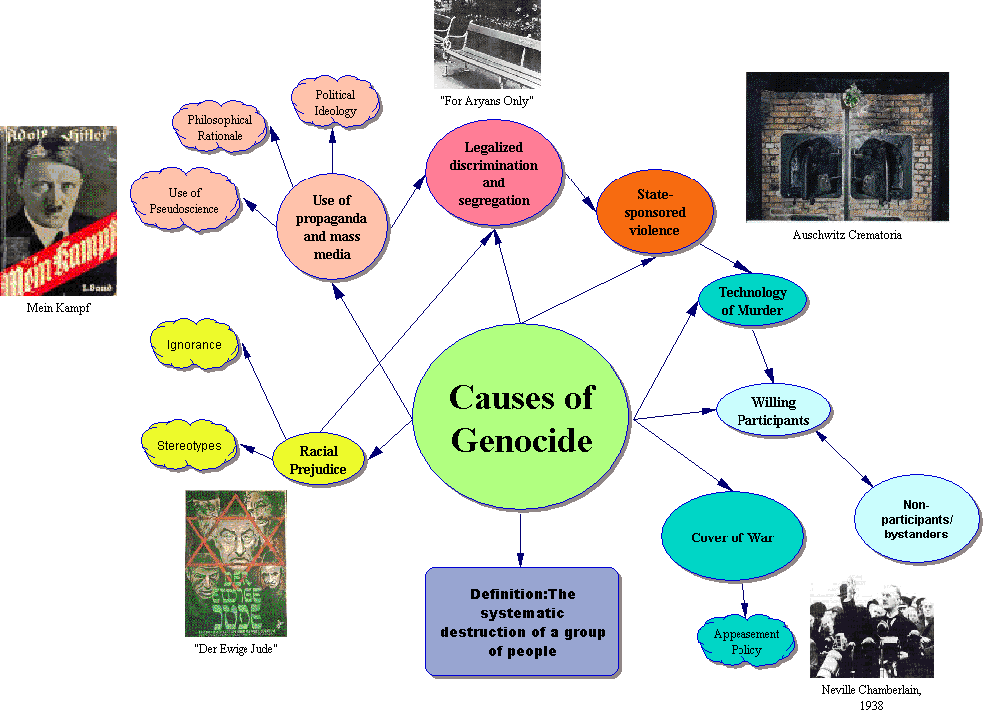
Using Visual Language to Communicate Social Studies Content
Click on the image to view of close up. A New window will open.
|
The image is a vital tool in the teaching of
Social Studies. I often remind my students that the course I am teaching is
presented in the English language, so there should be few barriers to their
understanding of the material if they are willing to ask the right questions and
seek the understanding needed to be successful. But social studies also lends
itself easily to visual language: the use of graphics, symbols, and images in conjunction
with the written word. As I design a page that reflects historical or political
content, I am constantly thinking about presenting the concepts visually as well
as in the form of text (or even in the form of the motion picture or the spoken
word, which with today's web technology can be presented on screen in an
increasingly easier fashion). Historical concepts have been presented visually
for centuries in the form of paintings, and then later photographically with the
advent of the camera during the early 1800s. Teachers have at their disposal a
rich resource in the World Wide Web as more of these photos are included in the
public domain.
| Since 1994, I have dabbled in the joys of
digital photography with the intention of placing my own images on the
web for use in the virtual and traditional classrooms. The digital
photograph can be the centerpiece of any virtual field trip, allowing
distance learners to see cultural, historical, and government-related
data that is physically remote to them personally. Family history,
community issues, and current events can also be presented graphically
using a scanner to convert traditional media into data that can be presented
on the web. Moreover, these images can be imported into animation
software such as PowerPoint, Macromedia Flash, or Animation Shop 3 to
create a slide show. |
| The
digital photograph can be the centerpiece of any virtual field
trip, allowing distance learners to see cultural, historical,
and government-related data that is physically remote to them
personally. |
|
Here are some examples of the use of digital
photography I have developed to teach historical and political content (a new
window will open):
Comparing Graphics Tools
The average educator has
limited time resources, so undertaking the learning curve to become a graphic
designer can seem like a daunting task to the overworked teacher. All too often
it seems easier just to copy someone else's graphics or to use pre-existing clip
art that may or may not illustrate the topic at hand. Teachers need to create
and manipulate their own graphics with a low cost to their time and fiscal
budgets. There are a variety of graphics tools available ranging on cost and
difficulty. Here is a brief look at what's out there, and my take on what's best
for educators.
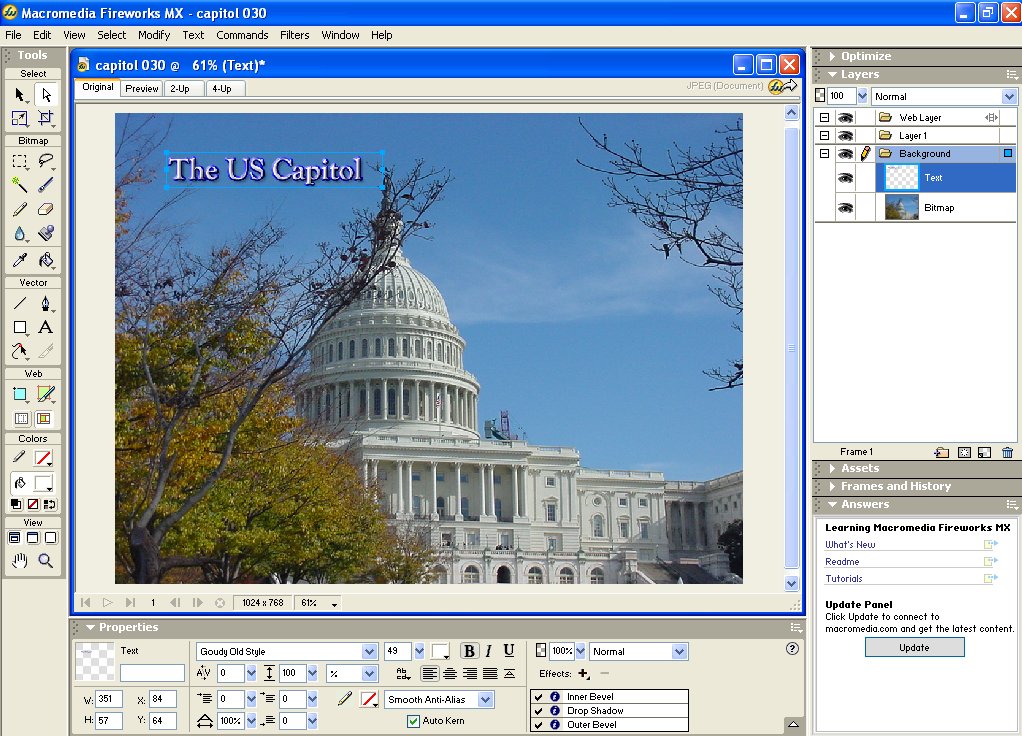
Macromedia Fireworks
Fireworks is preferred by
many graphic artists as well as educational institutions publishing content to
the web. It has a steep learning curve, but the rewards for taking the time are
rich. Like its web design counterpart, Dreamweaver, the control panels appear at
the bottom of the work area but can be detached and dragged around the screen.
The control panel that pops up is determined by the element you happen to be
working on at the time. Click the text tool, and up pops the text control panel,
where you can change font, type size, and even direction. The program comes with
a solid number of text effects, but it takes some looking around to figure out
how to access them.
Like most advanced
graphics editing tools, Fireworks adds a layer to the image when a new element
is added. Each layer can then be manipulated to provide a blend of effects.
Composite images can be developed into a collage effect or text can be added
overlapping other elements onto the main background. The current layer is
indicated by a panel on the side of the main work area.

Macromedia Fireworks
Click on the image to view of close up of the screen capture. A new window will
open.
Like its Adobe Counterpart, Photoshop, the
program does not easily save images from its proprietary format, the .png
(pronounced "ping") as the commonly used formats for the web, .jpgs
and gifs. You have to go to "export preview" instead of simply
"save as." Once there, you have choices to make about the resolution
and size of the image, which effect how they appear and how fast they download.
By the way, both modern browsers now support the .png as a web image.
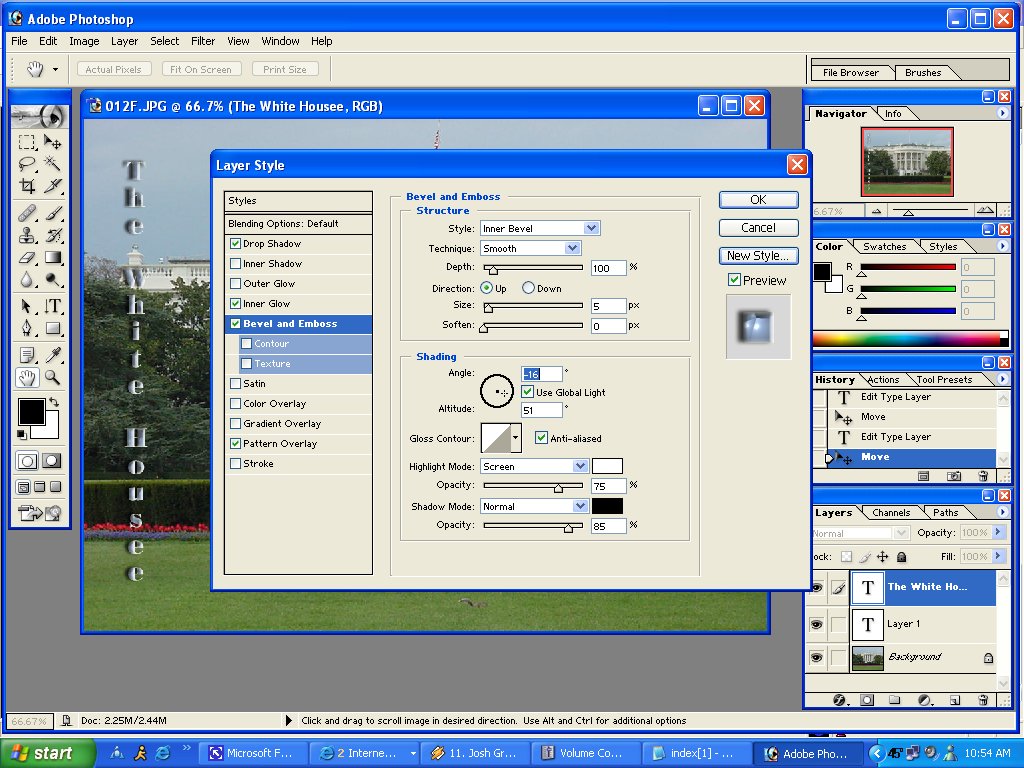
Adobe Photoshop
Adobe Photoshop is the
quintessential graphics development tool, but versatility comes at a price. Most
educators cannot afford the $650 price tag that Photoshop often carries. It has
an excellent vertical text tool, and a variety of effects that can be applied.
It also works with layers, so the user needs to know which layer is being worked
on to avoid frustration. One tool Photoshop lacks is the ability to paste an
image as a new selection. Photoshop can reduce image depth for publishing on the
web (using what it calls "index color").
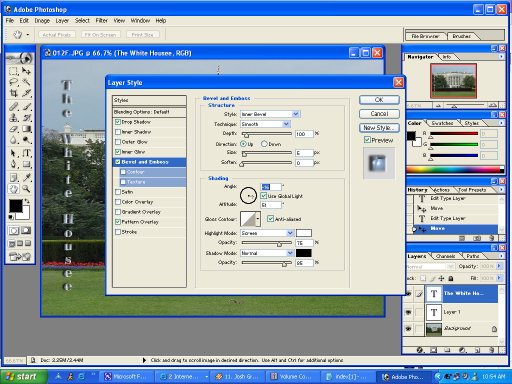
Photoshop's Layer Style Dialogue
Click on the image to view of close up of the screen capture. A new
window will open.
JASC's Paint Shop Pro
Paint Shop Pro's $100 price tag is much easier to
swallow for teachers operating on a limited budget. This tool is simply easier
to use than the other two and has almost all of the same features. It keeps its versatility
with the use of layers, and sports a variety of effects. One handy tool is the
ability to paste an element as a transparent layer, which makes for effective
overlapping of graphic elements. Bundled with the graphics program is Animation
Shop 3, where individual frames can be melded together to create dynamic
animated gifs. Paint Shop Pro can used to import screen captures and scanned
images. It also has a handy imagemapper and image slicer for advanced users who
want to make table-based and image-based imagemaps. Overall, Paint Shop Pro is
my graphics editing tool of choice due to its simple interface and ease of use.
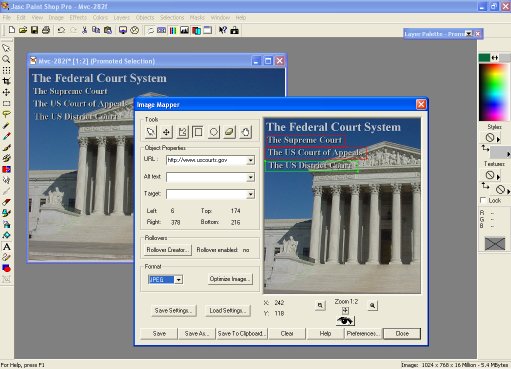
Paint Shop Pro's Imagemap Utility
Click on the image to view of close up of the screen capture. A new window will
open.
Advanced Web Design Techniques
Teachers who choose to
move their content to the web face competition from commercial web design
outfits who are creating education portals for profit. These web designers have training
that teachers don't have time for, nor will teacher participation in the World
Wide Web bring educators the level of income professional web designers can
bring down. But if they choose to make the time investment, there are some page
design tricks that are invaluable in designing a professional and useful web
page for other teachers and for students to use.
Tables: Teachers
must learn how to use the hidden table for manipulating images and text on the
screen. Simply aligning text around an image may not provide the flexibility
that inserting these elements into a table can bring. Hiding the table border is
as easy as setting them to zero. From there, teachers can manipulate each individual
cell of the table by inserting images, background color, and space between
the border and the element within the cell.
Forms: Teachers may also
need to learn how the Common Gateway Interface (CGI) works so they can use the
web page form to communicate between then and their students. The form keeps
students from having to send their content via Word file attachments. Students
enter their responses directly into the web page and click send.
Cascading Style Sheets:
Using the CSS allows a set of attributes to be applied to a number of pages by
inserting specific code within each document. The CSS is a timesaver and it
provides a consistent look and feel throughout the website. Teachers will want
to take the time to learn the basics of the CSS so they can copy and paste a
given set of page attributes into their own published materials.
Final Thoughts
Content determines
function. What the teacher needs to communicate to the student will have a large
part to play in how it appears on the screen and how the students uses the
elements that are available to him or her. Teachers need to move beyond the
static text-and-image page to a higher level of interactivity and functionality
to present pleasant and compelling content to their students. It will involve a
time commitment, but if the teacher intends on fully using the web as a teaching
tool, the time invested in experimenting with advanced features is well spent.
Their students will be able to achieve more because a greater number of learning
styles can be tapped.